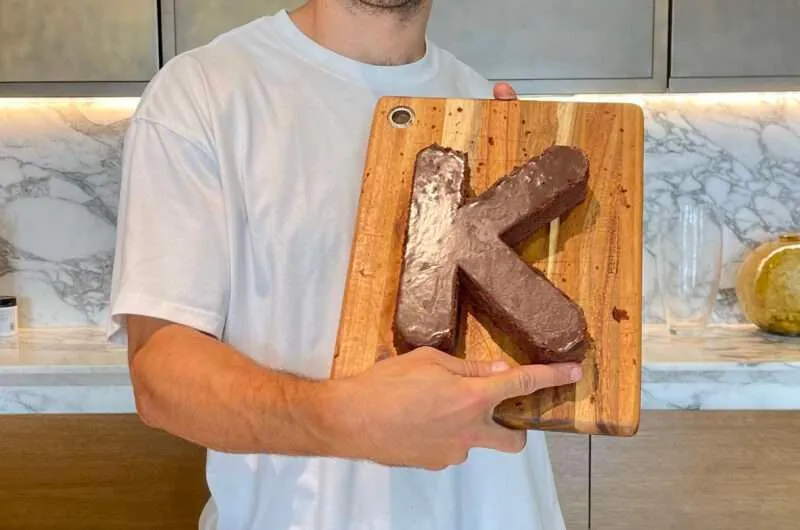
DIY Number Chocolate Cake
Ingredients
- 1 large chocolate cake (to make one number)
- 1/2 cup chocolate sprinkles
Chocolate buttercream frosting (serves 14):
- 250g unsalted butter, softened
- 3 cups soft icing sugar, sifted
- 1 cup cocoa powder, sifted
- 1/4 cup milk
- 1 tsp vanilla extract
What you’ll need to make my DIY Number Chocolate Cake
A large chocolate cake (I bought the 1200g Chocolate Celebration Cake from Coles for $15)
Number stencils printed or drawn on paper
Sharp knife
Your favourite icing (see my chocolate butter cream frosting recipe below)
Sprinkles or other decorations
How to Make my DIY Number Chocolate Cake
Print or draw the numbers you need onto sturdy paper or cardboard. Cut them out to create your stencils. These will act as your guide for cutting the cake into perfect number shapes.
Place your stencil on top of the chocolate cake. Using a sharp knife, carefully cut around the stencil to form your number(s). Don’t worry if the edges aren’t perfect—icing will cover up any imperfections! If you’re making multiple numbers, use the cake offcuts to fill gaps or make smaller shapes.
Spread a generous layer of chocolate buttercream icing over the entire cake. Smooth it out with a spatula or use a piping bag.
Decorate your cake with sprinkles or any toppings you like!
Tips for Success
Choose a chocolate cake that’s moist yet firm, making it easy to shape without crumbling.
Place the cake in the fridge for 20–30 minutes before cutting to make slicing cleaner and easier.
Don’t throw away the leftover cake pieces—use them to fill gaps in your cake or fix up any mistakes
Directions
- In a large bowl, use a hand or stand mixer to beat the butter on medium speed until pale yellow and fluffy, about 2–3 minutes.
- Gradually add the sugar and cocoa powder to the butter. Mix on low speed initially to avoid a sugar cloud, then increase to medium speed until combined.
- Add the milk and vanilla extract to the mixture. Beat on medium-high speed until the frosting is smooth, creamy, and fluffy. If the frosting is too thick, add milk 1 tablespoon at a time until the desired consistency is achieved.
- Taste the frosting and adjust the sweetness or chocolate flavour if needed. You can add a little more cocoa powder for a deeper chocolate taste or more powdered sugar for extra sweetness.
- Spread the frosting onto your cake immediately, or store it in an airtight container in the fridge for up to a week. Bring it to room temperature and re-whip before using.
- Place your stencil on the cake and cut out the number(s) with a sharp knife.
- Spread icing evenly over the cake with a spatula or piping bag.
- Finish with sprinkles or your favourite decorations!
Helpful Tips

Storage

Substitutions

Serving Suggestions
Watch How to Make It
