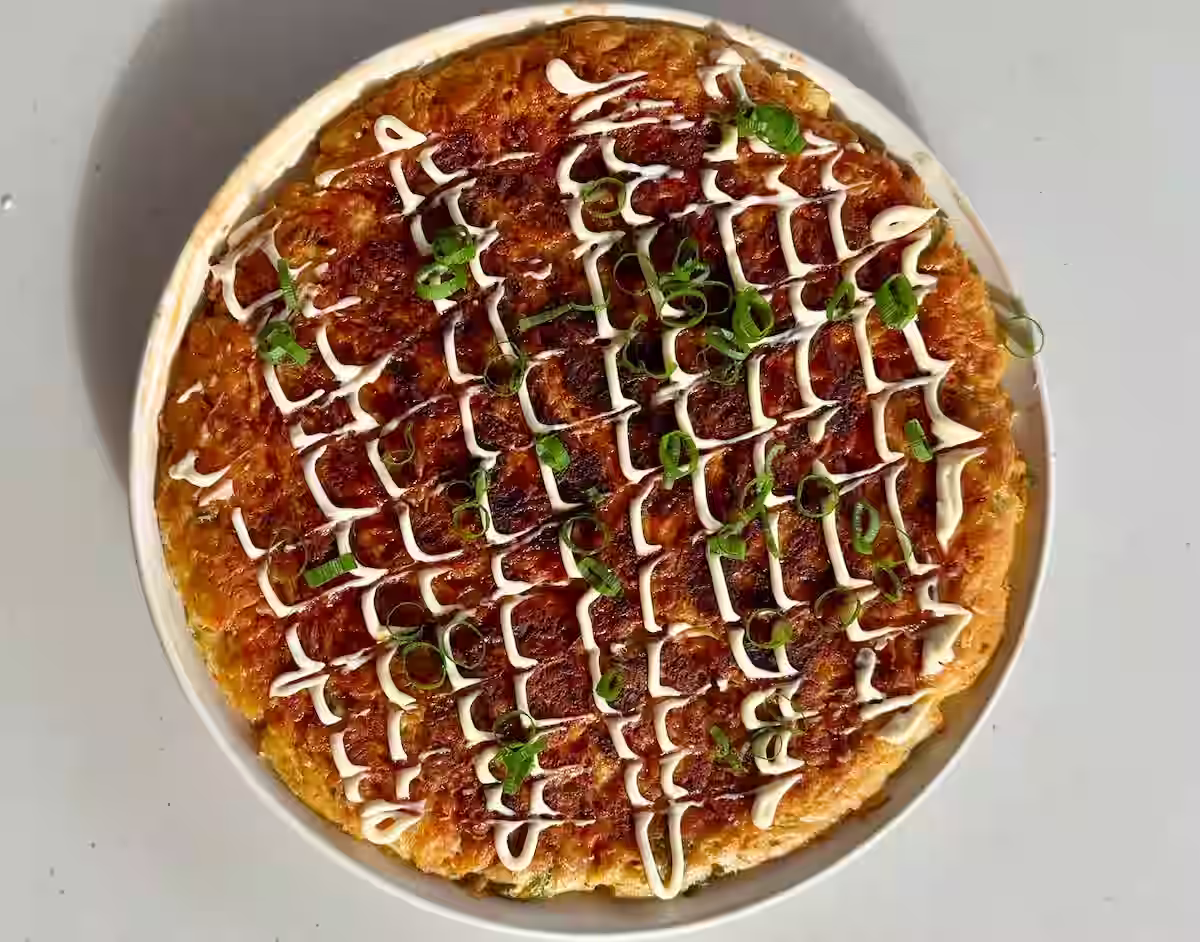
Japanese Okonomiyaki (Savoury Cabbage Pancake)
This is a crispy, savoury Japanese cabbage pancake with a kimchi kick - perfect for a quick weeknight dinner or casual weekend lunch. It's simple to make with pantry staples and delivers bold, umami-packed flavour without any complicated technique. The cabbage-to-batter ratio is intentionally heavy on the vegetables, so you get a fluffy, crispy pancake that's satisfying without feeling heavy.
Serves
2
Prep time
10 minutes
Cooking time
10 minutes
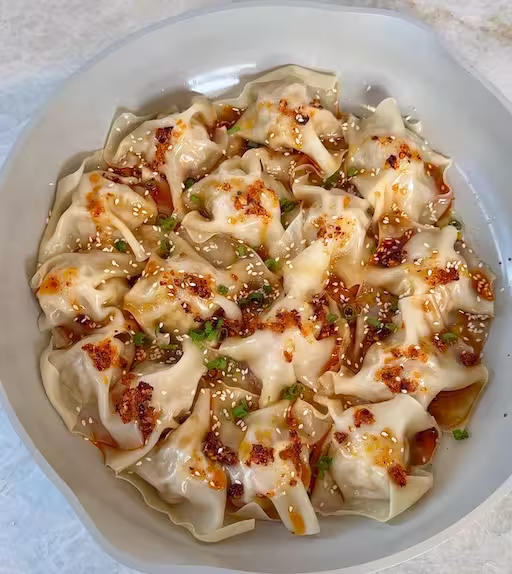
If you’re looking for more delicious Asian dishes, try my No-Fold Crispy Pork Dumplings, Korean Beef Bowls, or my Dumpling Lasagna
Helpful Tips

Storage
Best eaten fresh for maximum crispiness. Leftovers can be stored in an airtight container in the fridge for up to 2 days.
.svg)
Substitutions
- Kimchi: Use sauerkraut, pickled vegetables, or skip entirely for a plain cabbage version
- Okonomiyaki sauce: Use tonkatsu sauce, hoisin sauce, or make your own with tomato sauce + Worcestershire sauce + soy sauce
- Kewpie mayo: Regular mayonnaise works but won't have the same tangy sweetness

Serving Suggestions
Serve with steamed jasmine rice or fried rice on the side for a more filling meal. For extra protein, top with a fried egg
Helpful Tips
Storage
Best eaten fresh for maximum crispiness. Leftovers can be stored in an airtight container in the fridge for up to 2 days.
Substitutions
- Kimchi: Use sauerkraut, pickled vegetables, or skip entirely for a plain cabbage version
- Okonomiyaki sauce: Use tonkatsu sauce, hoisin sauce, or make your own with tomato sauce + Worcestershire sauce + soy sauce
- Kewpie mayo: Regular mayonnaise works but won't have the same tangy sweetness
Serving Suggestions
Serve with steamed jasmine rice or fried rice on the side for a more filling meal. For extra protein, top with a fried egg
Ingredients
- 2 tbsp vegetable oil or neutral oil
For the batter:
- 1 cup plain flour
- 2 large eggs
- 3/4 cup water (plus extra if needed)
- 1/2 tsp salt
For the filling:
- 3 cups cabbage, finely shredded
- 1/2 cup kimchi, finely chopped and squeezed dry
- 2 spring onions, thinly sliced
Toppings:
- Otafuku sauce or tonkatsu sauce
- Kewpie mayonnaise
- Bonito flakes (katsuobushi) (optional)
- Aonori (dried seaweed flakes) (optional)
Nutritional Information
(
per serving, based on
2
)
Nutrient
Amount
Calories
420
kcal
Protein
14
g
Carbohydrates
58
g
Fat
15
g
Fibre
5
g
Nutritional information is approximate and provided as a general reference only. Actual values may vary. This is not a substitute for professional dietary advice.
Directions
- Pat the shredded cabbage dry with paper towel to remove excess moisture (this prevents soggy okonomiyaki). Squeeze the kimchi firmly to remove all liquid, then chop it finely.
- Add the plain flour, eggs, water, and salt to a large mixing bowl. Whisk until smooth.
- Add the cabbage, kimchi, and spring onions to the bowl and fold everything together gently until well combined.
- Check the mixture: It should be very thick and cabbage-heavy - it should barely hold together, with just enough batter to bind the cabbage. When you scoop it with a spoon, it should clump together but not be runny or wet. If too loose/runny: add 1-2 tbsp extra flour and mix. If too dry/crumbly: add 1-2 tbsp water and mix.
- Heat 1 tbsp oil in a large non-stick frying pan over medium heat until hot but not smoking.
- Scoop the cabbage mixture into the pan. Use a spatula to gently shape it into a round pancake that reaches near the edges of the pan and is about 2-3cm thick. Don't press down hard - you want it fluffy, not flat. Cook undisturbed for 4-5 minutes on medium heat until the bottom is golden brown and crispy. You should see the edges starting to set and steam rising from the top.
- To flip it easily, place a large plate over the okonomiyaki. Flip the pan over so the okonomiyaki lands on the plate, then slide it back into the pan (uncooked side down). Cook the second side for another 4-5 minutes until golden and crispy. The center should be fully cooked through - if you press gently on top, it should feel firm, not jiggly.
- The okonomiyaki is done when both sides are golden brown and crispy, and the centre is cooked through with no raw batter. If you're unsure, insert a skewer into the centre - it should come out clean.
- Transfer to a serving plate. Immediately drizzle generously with okonomiyaki sauce in a zigzag pattern, then drizzle Kewpie mayonnaise in the opposite direction to create a crisscross pattern. Top with bonito flakes and aonori if using. Serve immediately while hot and crispy.
Ingredients
- 2 tbsp vegetable oil or neutral oil
For the batter:
- 1 cup plain flour
- 2 large eggs
- 3/4 cup water (plus extra if needed)
- 1/2 tsp salt
For the filling:
- 3 cups cabbage, finely shredded
- 1/2 cup kimchi, finely chopped and squeezed dry
- 2 spring onions, thinly sliced
Toppings:
- Otafuku sauce or tonkatsu sauce
- Kewpie mayonnaise
- Bonito flakes (katsuobushi) (optional)
- Aonori (dried seaweed flakes) (optional)
Nutritional Information
(
per serving, based on
4 servings
)
Nutrient
Amount
Calories
420
kcal
Protein
14
g
Carbohydrates
58
g
Fat
15
g
Fibre
5
g
Nutritional information is approximate and provided as a general reference only. Actual values may vary. This is not a substitute for professional dietary advice.
Directions
- Pat the shredded cabbage dry with paper towel to remove excess moisture (this prevents soggy okonomiyaki). Squeeze the kimchi firmly to remove all liquid, then chop it finely.
- Add the plain flour, eggs, water, and salt to a large mixing bowl. Whisk until smooth.
- Add the cabbage, kimchi, and spring onions to the bowl and fold everything together gently until well combined.
- Check the mixture: It should be very thick and cabbage-heavy - it should barely hold together, with just enough batter to bind the cabbage. When you scoop it with a spoon, it should clump together but not be runny or wet. If too loose/runny: add 1-2 tbsp extra flour and mix. If too dry/crumbly: add 1-2 tbsp water and mix.
- Heat 1 tbsp oil in a large non-stick frying pan over medium heat until hot but not smoking.
- Scoop the cabbage mixture into the pan. Use a spatula to gently shape it into a round pancake that reaches near the edges of the pan and is about 2-3cm thick. Don't press down hard - you want it fluffy, not flat. Cook undisturbed for 4-5 minutes on medium heat until the bottom is golden brown and crispy. You should see the edges starting to set and steam rising from the top.
- To flip it easily, place a large plate over the okonomiyaki. Flip the pan over so the okonomiyaki lands on the plate, then slide it back into the pan (uncooked side down). Cook the second side for another 4-5 minutes until golden and crispy. The center should be fully cooked through - if you press gently on top, it should feel firm, not jiggly.
- The okonomiyaki is done when both sides are golden brown and crispy, and the centre is cooked through with no raw batter. If you're unsure, insert a skewer into the centre - it should come out clean.
- Transfer to a serving plate. Immediately drizzle generously with okonomiyaki sauce in a zigzag pattern, then drizzle Kewpie mayonnaise in the opposite direction to create a crisscross pattern. Top with bonito flakes and aonori if using. Serve immediately while hot and crispy.
Watch How to Make It
See More Asian Recipes
Join for Exclusive Resources
Meal plans
Premium recipes
Weekly email from me
Oops! Something went wrong while submitting the form.

30 minutes or less
Lunch
Dinner
Snack
Asian
One-Pan / One-Pot